(model #LP-42055 from LITE ladders)

of course the ladder itself is pre-made, the place to put it.... that's the fun stuff! if you have read hellhole - part 2: lighting up attic #1 , you might remeber we left off the pic below called "site of former kitchen light", now renamed "site of new attic ladder if it kills me!"
okay back into the hellhole, you see the need for a better way, yes?

the plywood that spans the trusses at the top of this next pic is over top the "site of former kitchen light".... nice shovel, eh? need it to move around all the blown insulation, good thing it is plastic, as you can see, you never know where the wires are in the hellhole!

here i measure the width between the trusses.... need 22"...JUST GONNA FIT!!!! (these are "homemade trusses, not always the same span - challenges make us better, right??

okay now, the length....47 1/2 ".... from the, wait... see the 1x3 boards that are here and there under the trusses? that is what the kitchen ceiling has been attached to, they are here and there and..... anyway... i DON"t have to gut the one at the "site of former kitchen light" thank god! especially because at the other end is a bunch of wiring, i really only have JUST enough space lengthwise.

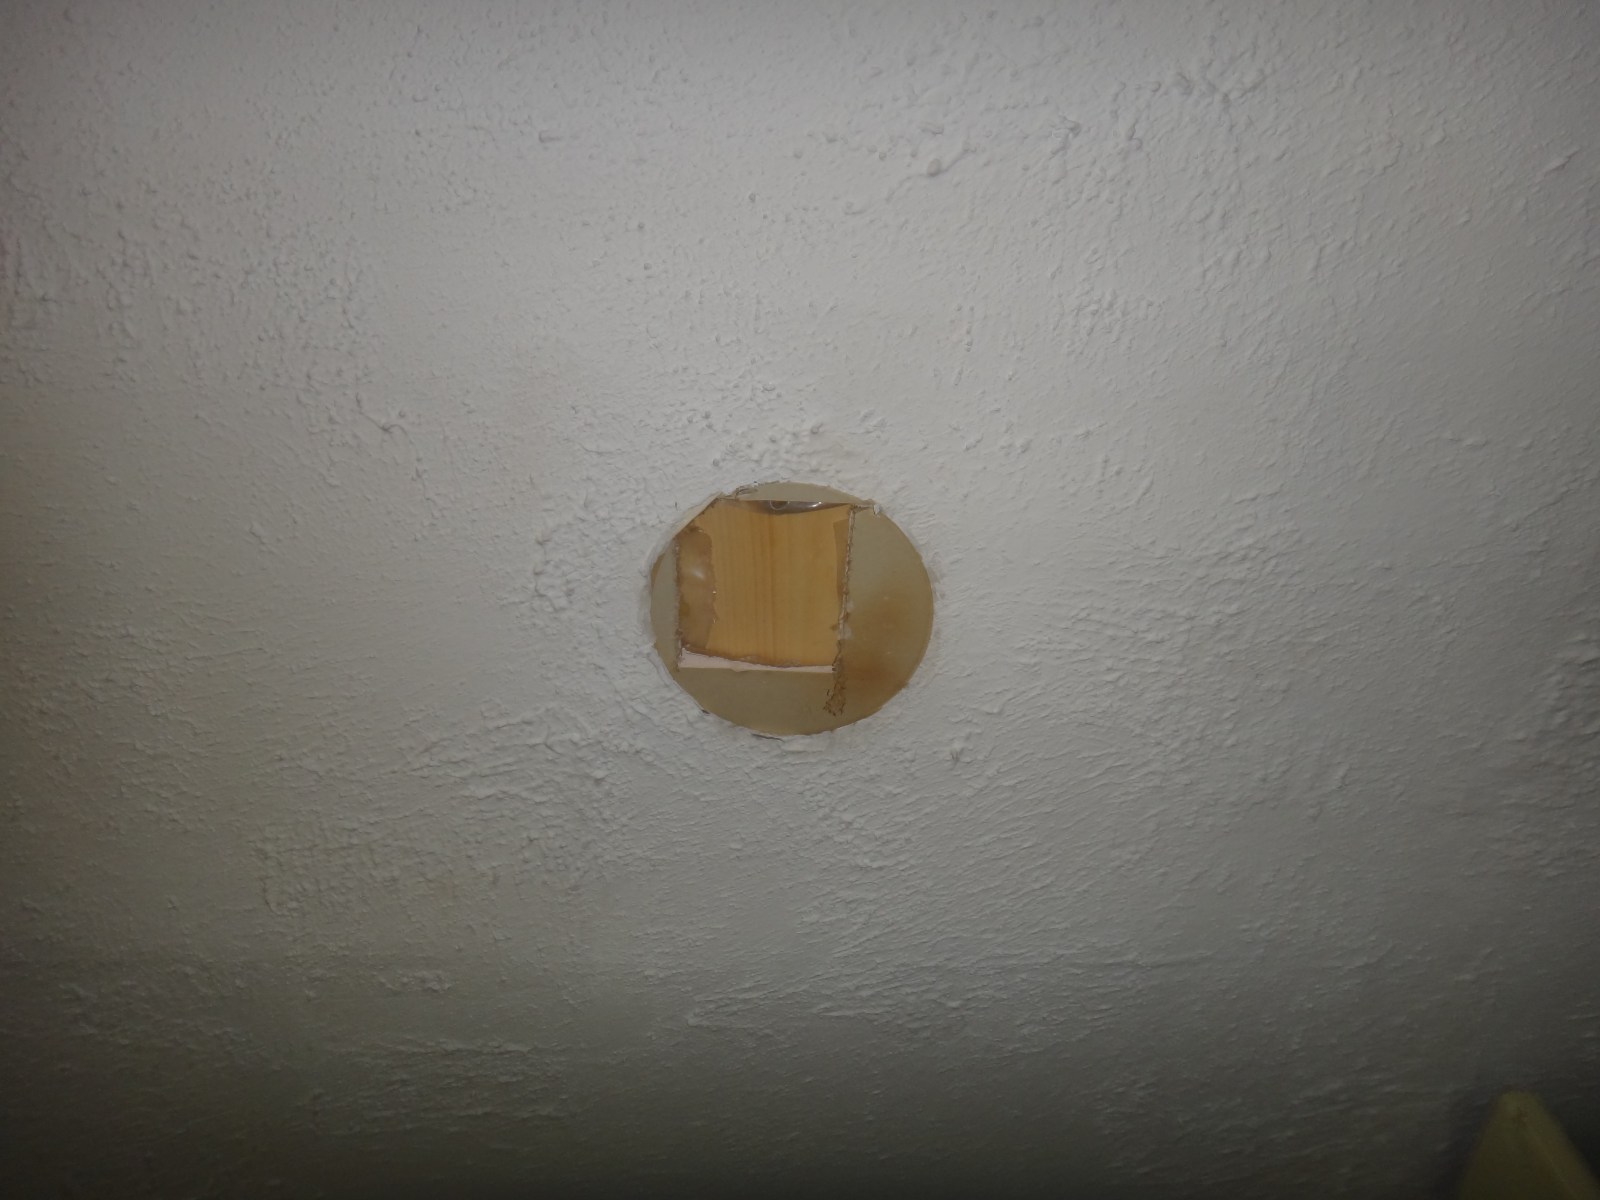
i put a nail and then a nicely colored piece of string to mark the first corner:

which rapidly becomes just nails, 5 more and i know where to cut from below, and from above, then a bit more below..

but mostly from below with a a plastic "catcher" to minimize crap in the kitchen, kymber appreciated this effort the most i think!!

here is a shot of 2/3 of the hole being cut out so far....

at this point i kinda got up some steam and laid the camera down for a while. in the pic below you can see the 2x6 cross beams i put between the trusses for extra stability, various pieces of wood of various thicknesses that i had to add to the trusses to frame it out, and finally, the attic ladder in the attic supported above it's final resting place. i horfed that thing in there above my head in one go, determined at this point am i:

the tricky part is installing two end pieces that the ladder frame/sill sits on, but not the door. i refused to let kymber in the hell hole so i put a third in the middle, just in case i blew it and carefully removed the supporting boards above and lowered the attic/ladder/stairs/whatever in place:

i measured correctly - success!!! i then went up the original hole and shimmed and anchored the crap out of the frame using a variety of wood as the spacing was never the same in any place, i did a good job though!

acid test.....

thar she opens!!!!

factory legs a little long...

set the last bit on milk crates, kymber to the rescue to help "measure twice, cut once, measure RIGHT, measure again, cut once....

and WE HAVE LIFTOFF!!

it works perfectly and has made a major improvement to the hellhole.. next step - a floor! i felt a rather high measure of success!
cheers!
Texas fist bump on that one buddy.
ReplyDeleteLooks great. At least you are improving your house. I am neglecting mine by building a stupid outdoor solar bath house.
thanks pal!
ReplyDeletebump back to you an the solar bathhouse - it will pay off. we will build on next year, i'll need all the details!!
cheers MDR!!
Wow I am impressed. I'd love to have a go at stuff like this but have the feeling I'd just pull the whole ceiling down by mistake! :D
ReplyDeleteAwesome! Great Job!
ReplyDeleteWow! Amazing job! I'm really loving seeing through pictures what you guys are accomplishing with your place.
ReplyDeleteHugs to you both
~Fel~
LL Coll Joe:
ReplyDeletethat scenario did cross my mind ;-) i was pretty careful. now that we have been here a year, i have become much better at this kind of stuff... last winter had it's share of disasters LOL!
thanks for stopping by!!
SciFiChick:
thanks! the floor is already in place and we have some stuff up there now, that will be the next post, makes it all worth it!
nice to hear form you!
Felinae:
thanks very much! i am glad you used the word "accomplishing" i will now use it to replace "struggling"!
nice to hear from you too!
Sometimes it may seem like its better to tear the whole place down and build it all over again.
ReplyDeleteLooks good so far.
Good job
ReplyDeleteNice work, man.
ReplyDeleteNice work! I wanted to do this in my last house but never got around to it before selling. The house we have now already had one when we moved in. I'm sure I don't have to tell you how much you're gonna love all the extra storage space!
ReplyDeleteYou made that look easy...I need to replace mine, it's out in the garage. I'll screw it up for sure.
ReplyDeleteRob:
ReplyDeleteThat crosses my mind more than once a day, but, in for a penny, in for a pound! i AM learning everything NOT to do when we build an addition ;-)
thanks!
Warlock:
thanks a bunch, i appreciate it form you!
Commander Zero:
and from you too!!
mmasse:
much obliged!! you will have to ask kymber, my guess is no - LOL!
Kris:
thanks a bunch! i am glad your new came came with one installed, it was quite the job, but worth it!
thanks for stopping by everyone!!!
Stephen:
ReplyDeletemissed you when i was replying! it wasn't too bad, i took my time and thought it through (the MDR approach ;-)
makes a word of difference, do so!
thanks for stopping by!!!
So what are you gonna do with the attic? Nice install on the ladder too.
ReplyDeleteA lot of bother, but extra storage is always worth it.
ReplyDeleteAwesome job...can you come over and do that to mine? LOL...a floor would be nice too. :)
ReplyDeletewoohoo...kymber will fill that attic up in no time. Great job!
ReplyDeletePioneerPreppy:
ReplyDeletethat's the next post, the floor installation. it's already completed, just a little behind on the blogging. we have stuff in rented storage and Vandura is stuffed to the gills. all that's going up along with summer clothes etc. there is also a large crawl space in the closet near the water heater that will store a vast number of preps/seeds etc. the temp and dryness is perfect. sadly, it's full of crap too, up it goes!!
Gorges:
A fair bit of bother, but you can gather we are desperate for some permanent storage, it's been moving stuff from pile to pile to pile. the least used/seasonal stuff will now go out of the way.
TOTALLY worth it!
Beate:
thanks - read my response to mmasse above, gotta ask kymber then take a number!
Mamma Bear:
i am the fanatic on this project, i have already begun the filling process ;-)
thanks for stopping by and your interest all - cheers!
This house is 109-yrs-old and nothing is plumb or square. I have witnessed many a man swear during the remodel we had to pay for. Well, ex could not hold hammer (Hand over my heart, honest), and I did lots of painting myself.
ReplyDeletePart of ceiling in den was removed last fall by raccoons. The guy who did the temporary fix had children who were appalled at how someone put in the ceiling.
Buying the ladder sounds like a smart move.Catching the mess sounds very smart. And not allowing kymer up there must make you the smartest man around.
Practical Parsimony:
ReplyDeleteaww - that's too kind of you - ymas blushing!
this place is a nightmare DIY to be sure, but i am one determined (nuts?) man and i will get it done!
no kymbers will be hurt in the making of this renovation ;-)
cheers!
Nice job!!!
ReplyDeleteThanks donna!
ReplyDeleteJamb,
ReplyDeleteCame in late on this party and I hate to be the guy saying the heads up stuff every time. BUT, you gotta remember that manufactured trusses built with light lumber and scotch staples are designed for supporting the roof. And not a lot more.
So, be careful with what you put up into no-Kymber-land. Too much weight will result in scotch staples popping loose and that nice pretty ceiling could take a serious trip into the kitchen sink.
I say this because been there, done that. Had to completely rebuild my woodshed, doubling up on the bottom chord of the truss and screw on wood brackets over failed scotch staples. I caught it before the roof hit the floor. YOU watch your roofline and if you see any new sags, check it out FAST.
Winston
Winston:
ReplyDeleteI have checked into that issue and mitigated accordingly.
1 - i am not doing all the attic surface - about 1/2.
2- these are homemade trusses - actually two trusses - one at the left and one at the right nailed together and reenforced with various boards, to the best of what i can gather. they are over a load-bearing wall. i put the two main corridors along each side. of that wall. i put the largest other main corridor over the side that has a sunken ceiling in one part and a bedroom “ceiling" is those square cardboard tiles that don't weigh much. in that second corridor - clothes, carpets, small furniture, lighter things etc.
3 - i put small conduits between the trusses over the load bearing wall for books etc. maybe 15 banker boxes over 7 boards.
4 - i plan on putting the rest of the heavier stuff flush along the wall where attic #1 and attic #2 meet which is two major load bearing walls. that weight will be mostly held up by walls.
5 - not a LOT is going up there, just enough for breathing room. i think the whole load would fit in a small u-haul trailer, maybe a bit more, i will spread the wealth evenly ;-)
6 - i am going to re-enforce the trusses as needed.
i DO appreciate your concern, and you know the issue well - sorry you learned the hard way.. i WILL keep an eye out for changes in the ceilings. please keep commenting. you will catch something i miss. all i want is to succeed. this helped me re-clarify in my head what i am doing so that was helpful in itself!!
the next instalment is the actual floor, you will get a better idea of what the trusses look like then. it has held up to 100kph winds so far, a few key re-enforcements should do the trick. if you notice a spot that stands out, please let me know.
thanks for coming by !
..looks great! A* and I have been talking about doing one of these up to get into our attic to aid with not having enough space ( especially since we put some 'flooring' down in the attic already..)..I love it! great post!
ReplyDeleteeagergridlessbeaver:
ReplyDeletethe ladder works real well - worth the effort and money! glad you like it! thanks for stooping by!
i didn't realize you were on wordpress, heading over to check it out right now!