Thursday, January 31, 2013

door doctor - basement edition, part 2

jambaloney here!

here is your sky pic helga:


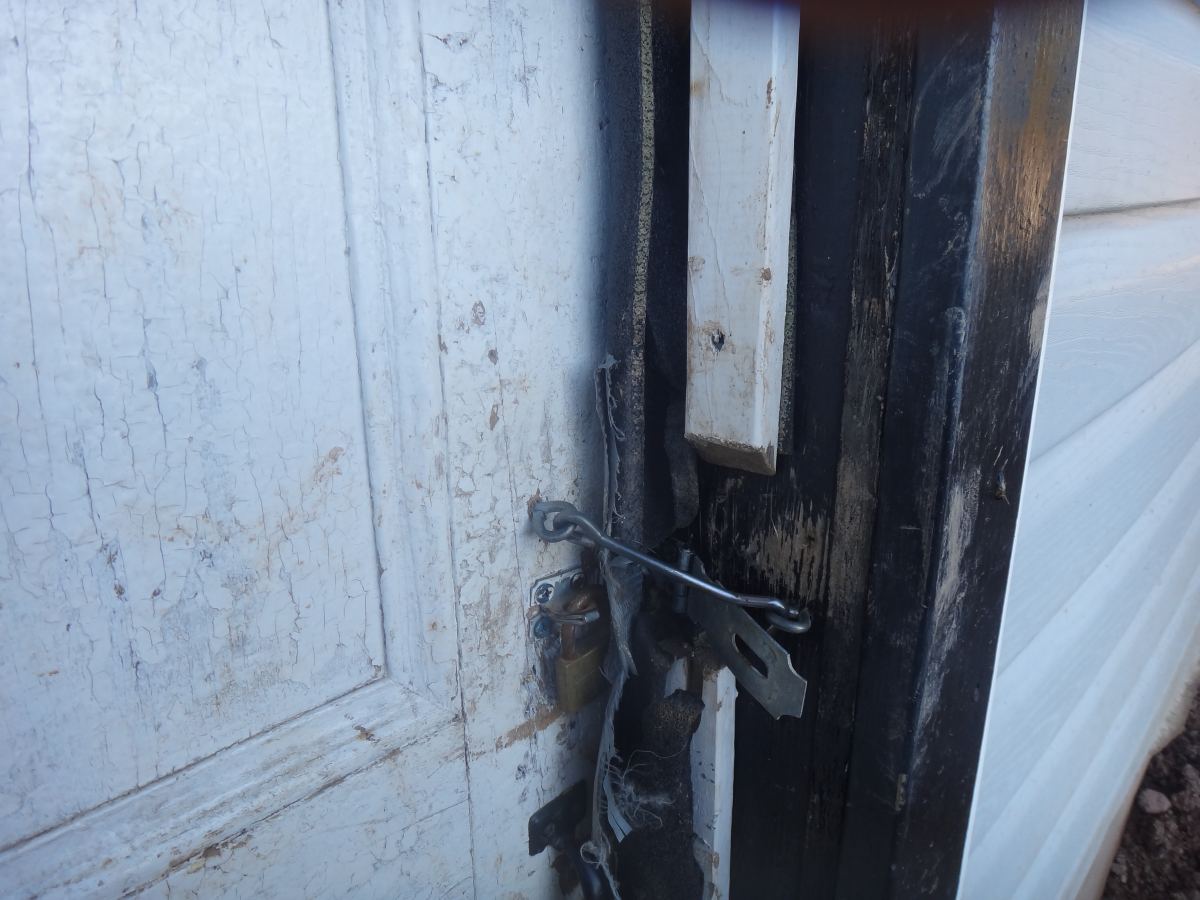
this is the follow-up of the basement door post in which, you didn't really see a door ;-) first thing i had to do was  reverse and oil the hinges...


i did splurge and buy a new lockable door knob - only $25!!


it wasn't too difficult to get that  put in the door - almost all doors these days have a similar cut and pattern for knobs... nice though!!


the next task is to remove the old rotten sill - it is in bad shape...


now it's time to put the new sill in... i had to remove a pile of the pvc channels i put under the new sill  (see last post)  because the concrete was poured unevenly and i couldn't seat the new sill properly


cut out rotten wood..... and  jiggle...


and  wiggle ..

(you can see part of the old door still hanging off the old hinge.. i basically ripped it off the frame ;-)


level long...


level wide.......


and shim the crap out of it then use deck screws to anchor - new sill done!!


i had to drill out a channel for the phone cord that comes around the outside of the house into the basement... long worthless story behind THAT  monstrosity - i will be fixing that later, but it is not part of this project so this ugly 3 minute solution is a must!


i pried out some boards that were uses to close out the old door  - here is the empty outside... ready for the installation of the 'new' door!


i had to cut the bottom off the 'new' door... it is metal sheets with hard foam in the middle - i used a reciprocating saw with a metal blade...


which worked well of the top part, but the foam played havoc with the bottom cut.... i broke the blade too - next time, i will cut shallow and on an angle on one side, then flip the door and do the same on the other - trial and error...


i cleaned up the mess with tin snips...


and installed the door!! i measured several times so it fit nicely - i used a shim underneath to provide a little clearance and then screwed the hinges in place (no pic of shim, sorry)... when hanging doors always remember to install the top hinge first... when taking them down, remove the top hinge last... this way you won't get bonked by a falling door..


on the doorknob side, i used the board that i removed with the old door to provide a place for the striker plate...


more shims - this doorway isn't square!!!


next job was building the outside frame - i used a mix of new and old 1x2 s


last real chore is weather proofing - for the weather stripping i used sill foam and hurricane tape ( get some, it is tear proof and strong as can be) to make my own - i can't stand paying 10 bucks a door for weatherstripping!!


i cut strips,  folded it over and taped it - this didn't work that well...


i ended up using just one thin strip with tape on both side and then used spray adhesive to put it in place - it worked pretty good, but next time i am going to use a better foam - probably strips cut from foam pipe insulators... you can see that i have filled all the other gaps with spray foam - i caulked the cracks on the outside with silicone.


here is the inside ( i also foamed the gaps down below - i want the water coming in through the channels)..


and here is the outside!!  i am really happy i did this - last week was brutally cold and i was able to keep the basement from freezing without too much effort... we have our freezer, dishwasher, washing machine, all pipes and our pump down there... it CAN"T be allowed to freeze - this was a big help... plus it closes like a normal door and we can lock it when we leave.  the window lets more light in during the day, we'll install a curtain for when we are gone.


here is your other pic helga!!


cheers all! hope you didn't fall asleep ;-)


Wednesday, January 23, 2013

door doctor - basement edition, part 1

jambaloney here!

sky pic for helga - nice evening about 4:00 PM, days are getting longer - FINALLY!


it's been only about, ohhhh 2 years with the same crappy basement door, what the heck has been keeping me??


you can see here how nicely the basement door accommodates runoff  - NOTHING i can do to prevent this from happening right now, i CAN control it, the trench was a great start!


need a new door for starters, where is the best place to get one?? you guessed it, other people's garbage!!! i have scavenged 3 of these doors so far, they are the exact same as our front door, really popular in cape breton , 1/2 our neighbors have the same!


what is wrong with the old door, well, it's wood with cracks and this hook is how is closes... no knob, no latch no... etc....


oh an aside upgrade, i built some steps with pieces of  railway ties and gravel i excavated from the basement  while digging the drain pit ..


2 years ago after the pump and pipes froze i hastily stapled carpet to the door to cut down on drafts... i am always worried when the temperature drops... i have been insulating like mad, but the door is  a weak spot. to heat the basement in the colder months (nov - march), i leave the lights on. in dec, jan and feb, i add a small ceramic heater attached to a timer -  it goes off for 15 mins every hour. this has been pretty successful - BUT... drafts are a killer when the temp really drops.


here is the inside

and here is the bottom --nice and cracked - i filled in some of the gaps with strips of foam meant for pipes..


here is the sill - that sheet prevents drafts from entering at the bottom - i know, i know....


here is the rotten sill - years of runoff have taken their toll. note the bulge at the bottom right - that is spray expanding foam. the gap between the concrete and sill is filled in with foam.


these are my snazzy steps - better than the slippery slope. i am letting them compact and freeze all winter before the final leveling off.


more door jam joy - it is a mess! that white wire is our phone line going in - all i could do at the time when we were desperate to get it working again.


my idea for a new sill begins with 1 1/4 " flex abs and pressure treated 2x6


when you cut pressure treated lumber for a damp place, ya gotta  re-seal the cut ends - this stuff reeks, be sure to use outside or near an open window!


i cut a whole pile of these small lengths of flex pvc and screwed them into the new sill.. with about 1/2 inch indent and an inch sticking out the other side


the idea is to replace the foam with something that controls the water getting in the basement... i will install a catch trench later. these sections of pipe are easily rock solid to walk on too


i used concrete to hold a number in place while drilling them in - it left both hands free for working


this screen in installed on the indented side - it goes outside and keeps the gravel from getting in and clogging the pipes. the indent space allows for free water travel.


on the other side, the overhanging pipe with drain into a catch trench/pipe for controlled diversion to the drain pit..


so with the new sill done - we are ready for a new door - stay tuned for part 2!!!

as an aside after 2 years of moving stuff around and around... i have a small functional work area... about 10 x10, shared with the dishwasher you see ;-)) the workbench is our old kitchen sink vanity (kee rap) and a solid core door that has seen better days - BUT.. it works!


here is my tool "box" .. i plan on making an old fashioned wood box, but until then and while i figure out what tools i will need at all times, i opted for the 5 gallon bucket with skirt - i do have it packed pretty tight it is very heavy;-))


sandy - this one is for you ;-)


 cheers all - thanks for stopping by!

Sunday, January 20, 2013

happy 12th anniversary!

yesterday we celebrated our 12th anniversary together. wow. what an amazing 12 years it has been. i love him more now than i have ever loved him...and in the beginning i really, really, really fell hard for that man. he was so beautiful...on the inside as well as on the outside...and he is even more beautiful now. and he is such a caring, kind gentleman to all of the ladies in our 2 communities - he makes my heart soar and makes me so proud of him. he is a hard worker, he takes care of the Manor - and me and the cats - and he is thriving here. it's amazing! and because he is thriving - i am thriving too!

anniversary or no anniversary makes no difference - there must always be a sky pic for my beautiful sister Helga...have a gander:


it was freakin freezing out yesterday - like minus 10C (roughly 24-25F) so there was no going out and building snowforts or snowmen or having snowball fights. which we would have done if it wasn't so cold. we only get a few days each winter when it is that cold thank goodness. but it was such a beautiful, sunny and blue-sky day. plus it was our anniversary. we needed to celebrate.

so how do two naked 40+-yr olds who have no children celebrate their 12th anniversary together while living in the middle of nowhere? i am glad you asked. we did what any naked 40+-yr olds who have no children and live in the middle of nowhere would do - we spent the entire morning getting seeds out of pods that had been drying since autumn.

i know - crazy eh?

we spent all morning sitting together at the kitchen table in the beautiful sun, sorting through our carefully collected dried pods and stems and busted pods onto plates and then carefully packaged our seeds. seeds that we will be planting this spring. seeds that will feed us next year. we had an incredibly wonderful time. we kept high-fiving each other, sighing happily, grinning, trying to catch kale seeds that were popping all over the place - so much fun!

this is what we managed to package...it is easily less than 10 percent of all of our saved seeds. i normally go crazy when the seed catalogues start coming in. not this year. look at all of those beautiful seeds....i will not need to purchase any of these seeds this year.


we have a ton more seeds that we need to bust out of their pods and sort and put in little bags before spring and we have all the rest of winter to do it. we will do a few hours here and there. we will love doing it together - those seeds are the reason that we came here. those seeds are what make us happy. hopefully we will be able to share some seeds once we learn how much we need of each. however, i made 6 packets of mixed lupin seeds...we have hundreds of saved lupin seeds. so if you are one of our dear friends - you'll be getting a packet! if yer not sure that yer a dear friend - just ask for a packet - bahahahahahah! we have hundreds of lupin seeds and they are such pretty flowers. bees love them! and bees are what you need in your garden and/or on your homestead.

at lunch, we downed "seed tools", had some chili, played some games, read and then spent the evening watching movies and SNL re-runs. it was a wonderful day.

we plan on celebrating our 12yr anniversary for the next several days. wow. 12 of the happiest years of my life. i look so forward to the next 12. and the 12 after that. and the 12 after that. jam will be 95, i'll be a spry 90 and hopefully we will have 12 more after that.

i love him with all of my heart and soul.